


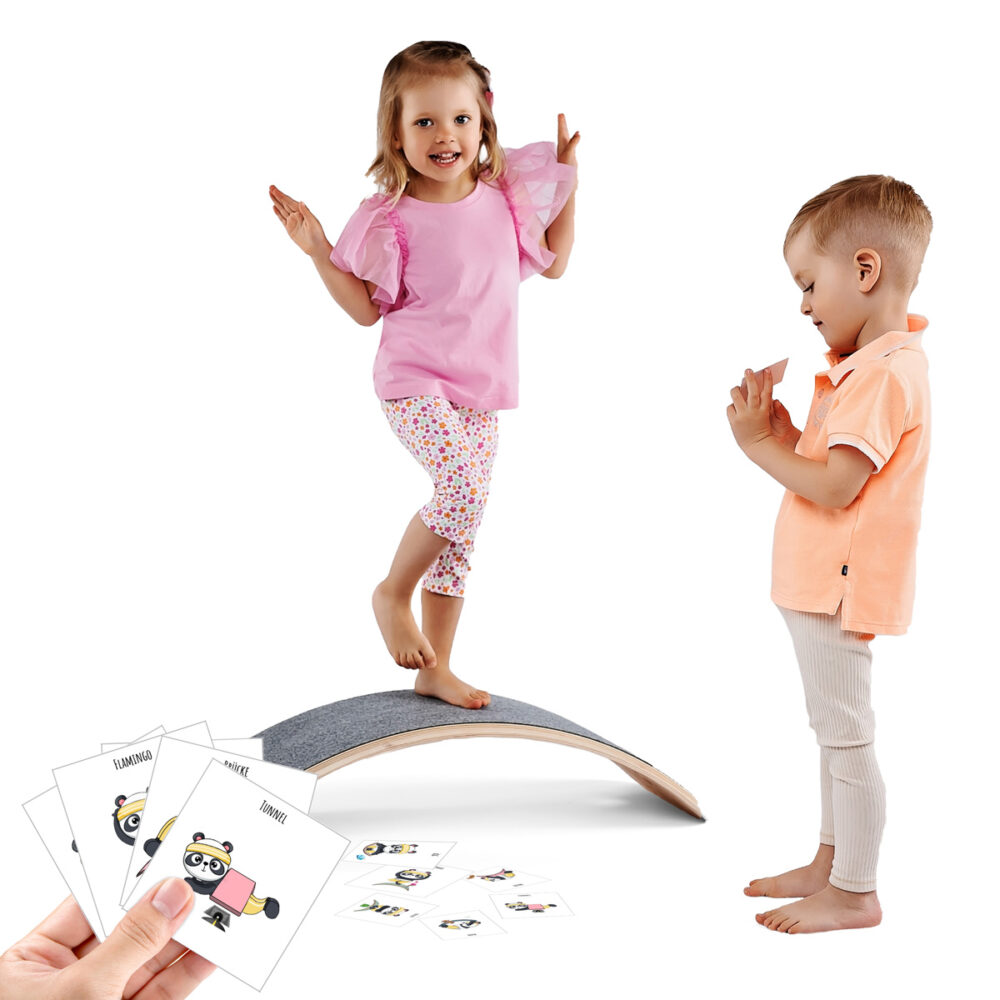
Albert Einstein once said that “play is the highest form of research.” From a young age, kids learn everything they need to […]
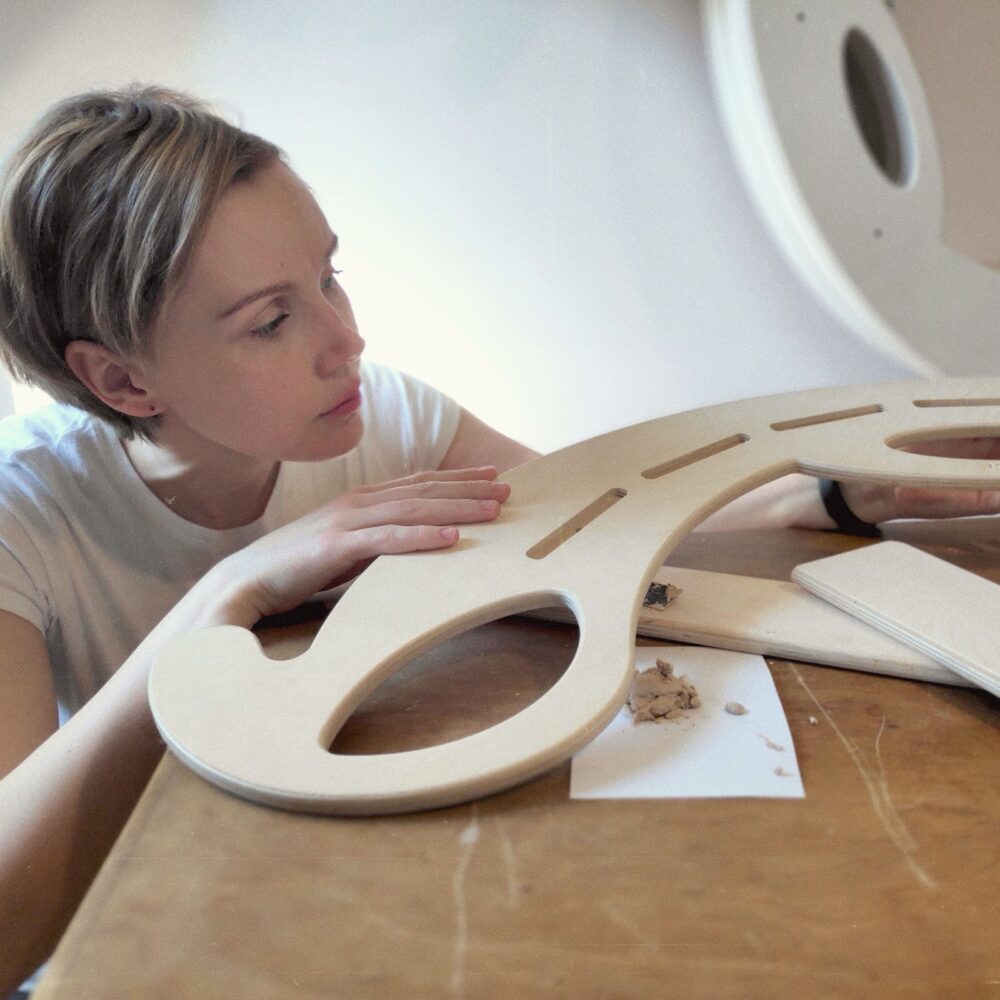
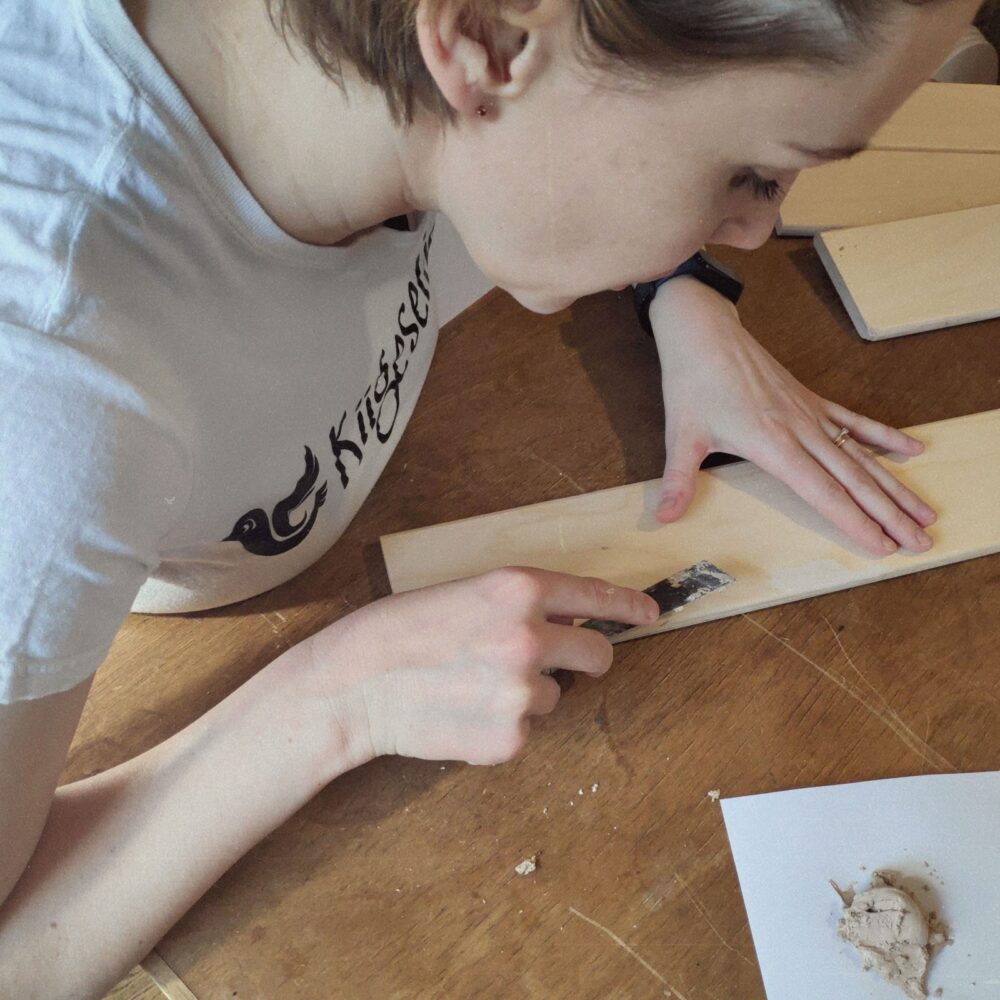
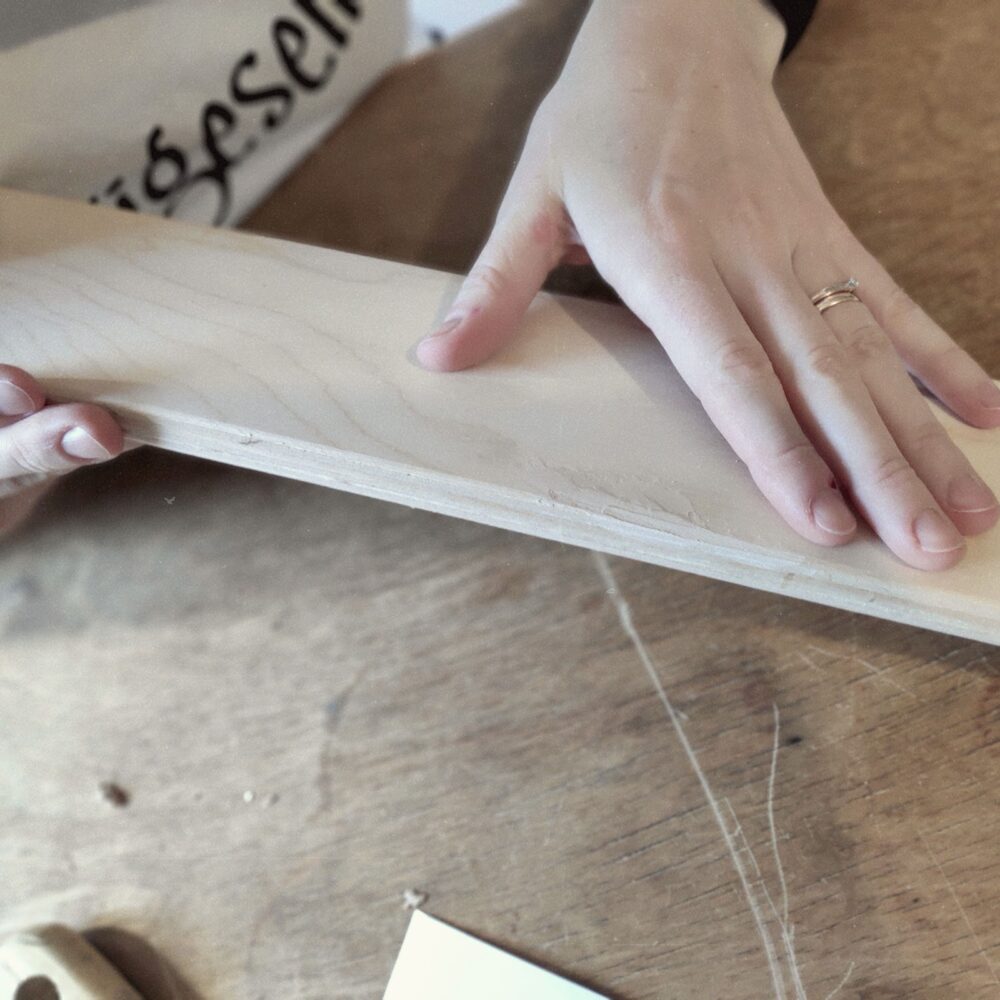
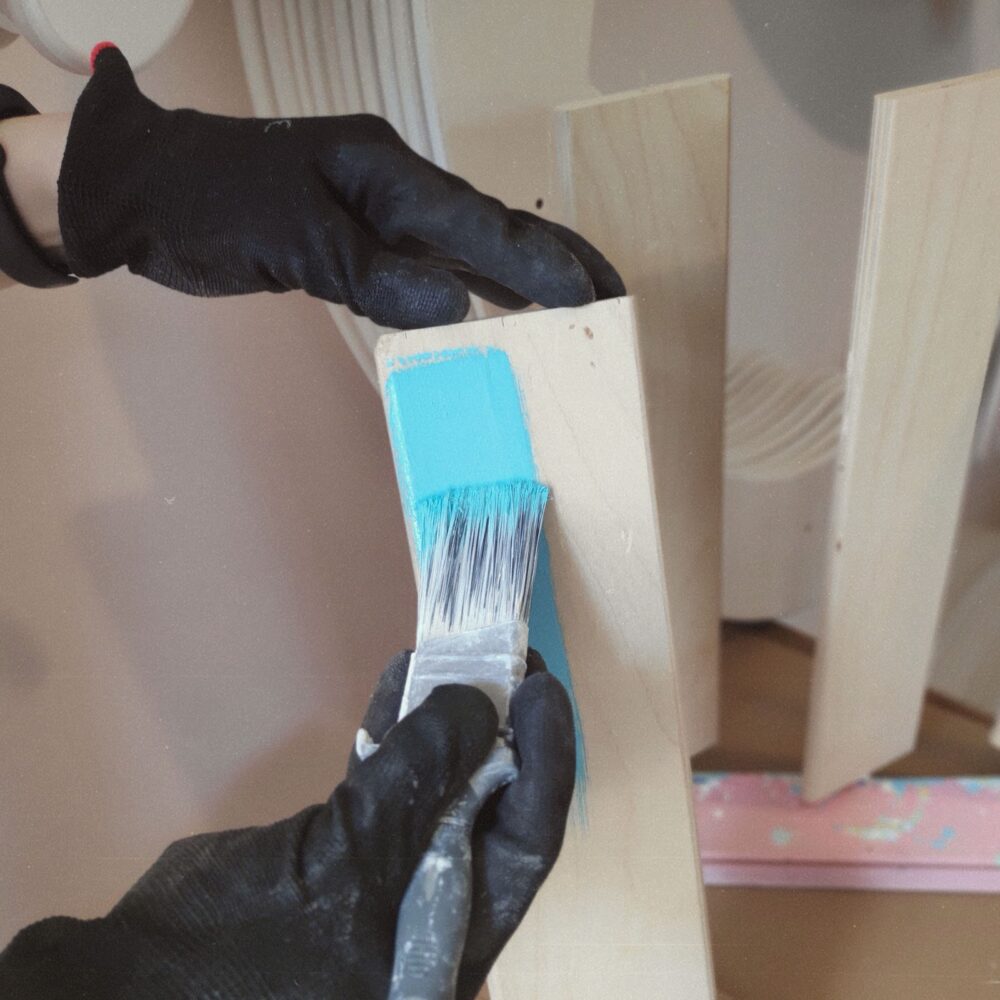
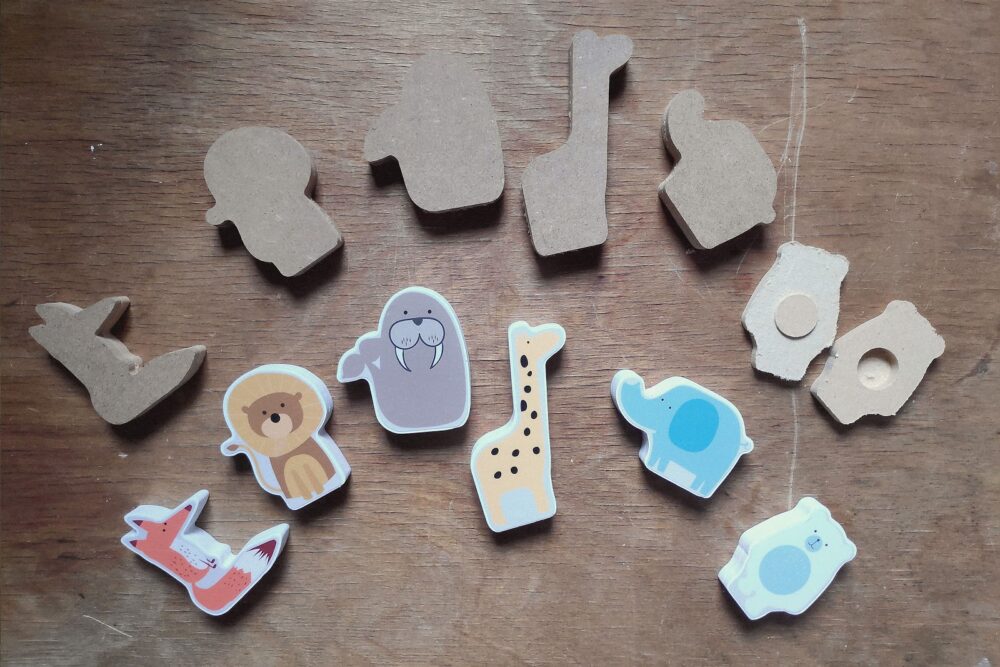
We are constantly looking for new and interesting ideas how to develop products and make them more exciting. We had an opportunity […]
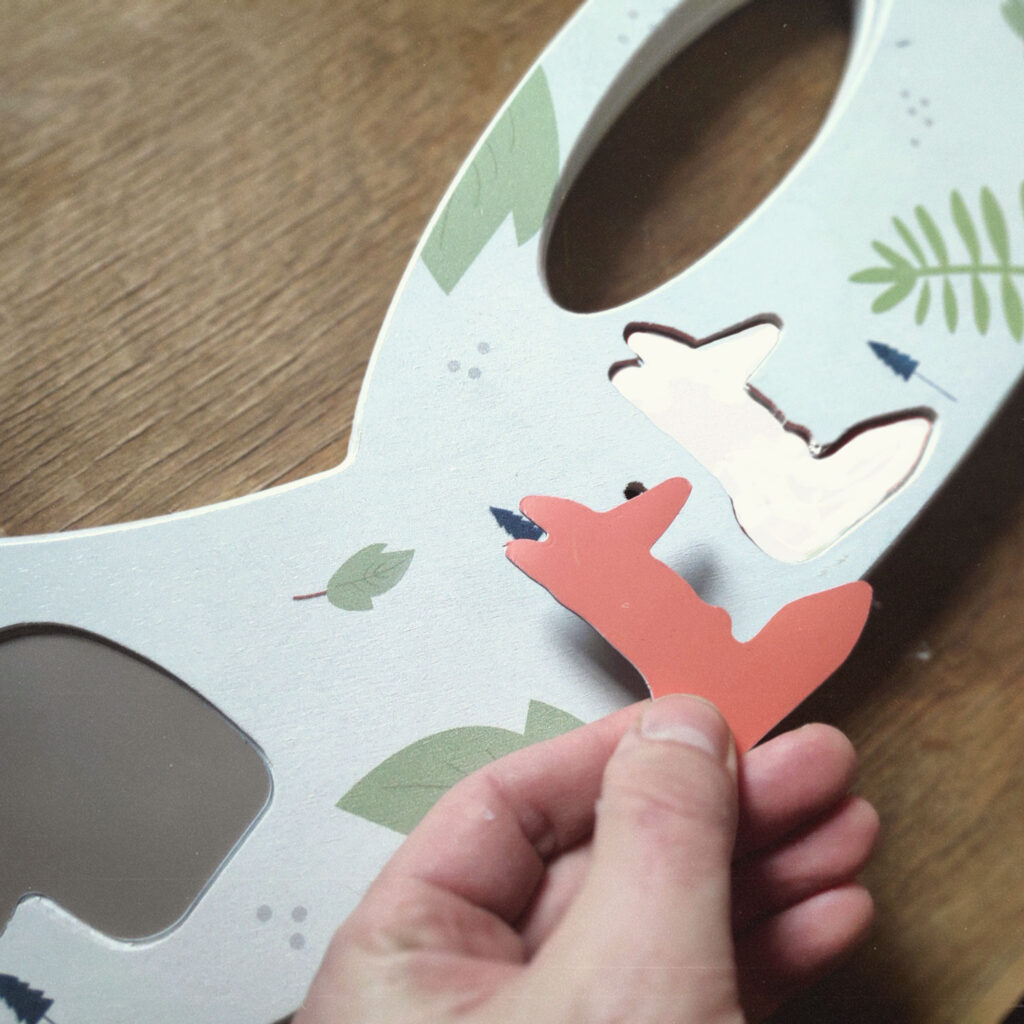
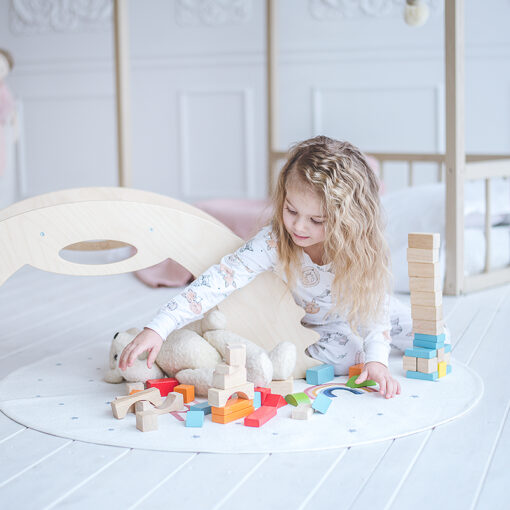
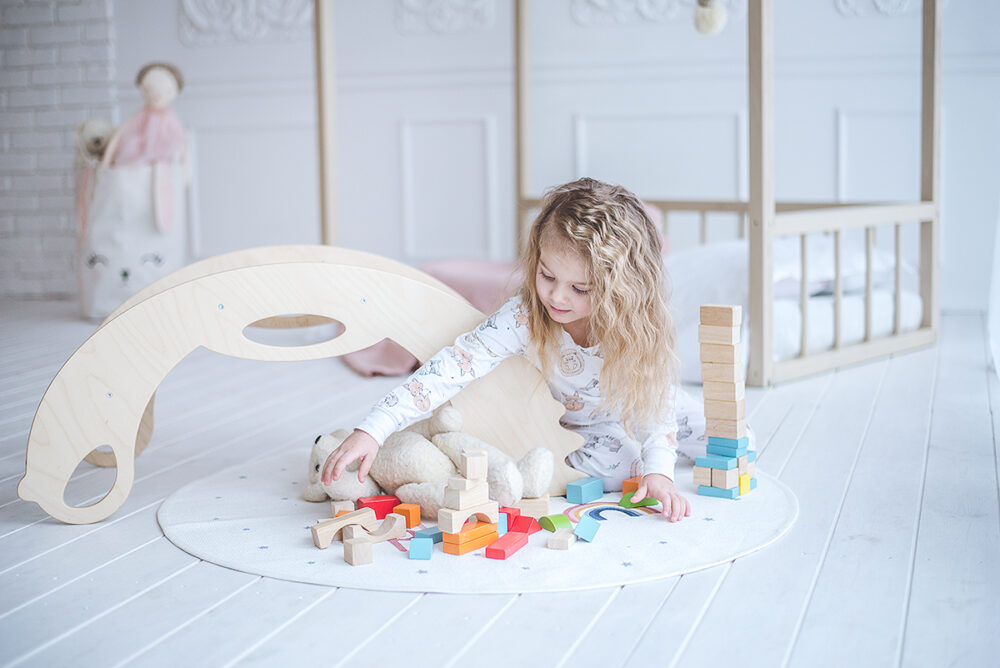
Children’s curiosity and imagination–the most wonderful of gifts–are stimulated by a nurturing environment, which plays an essential role in shaping their perceptions. […]
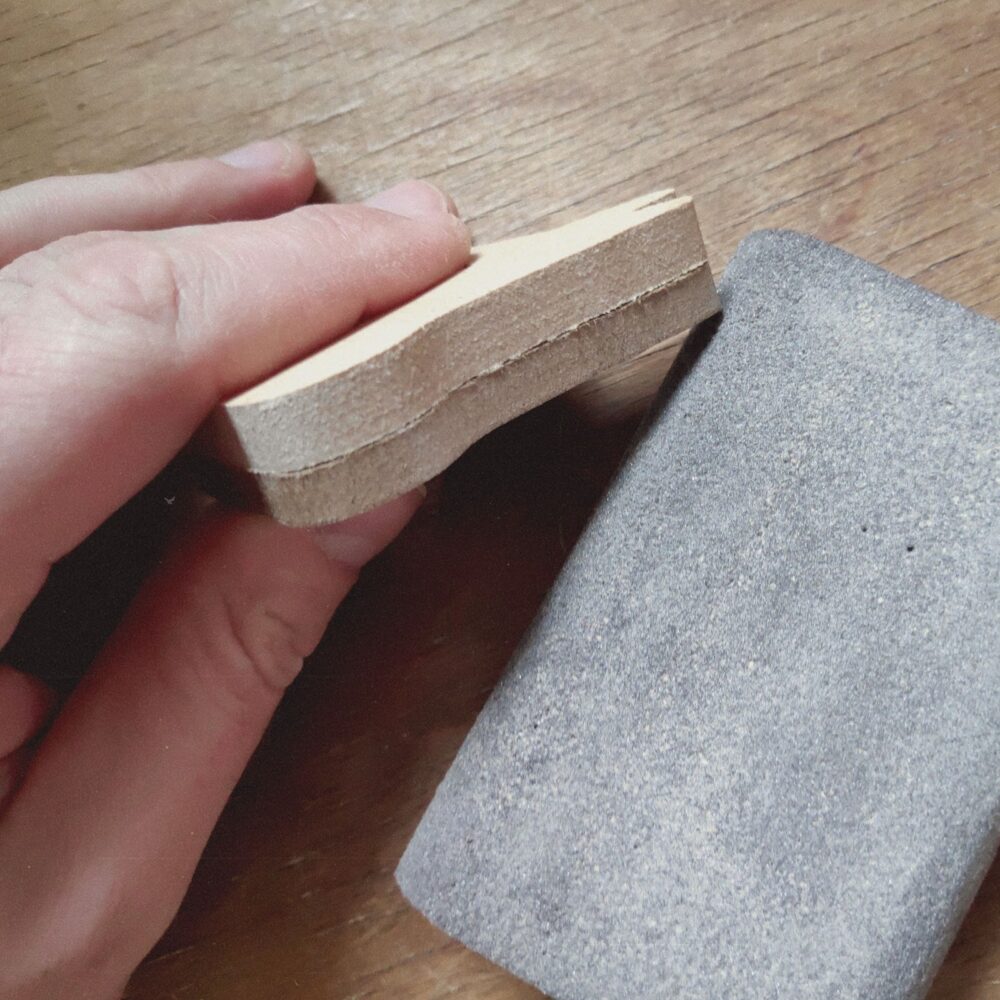
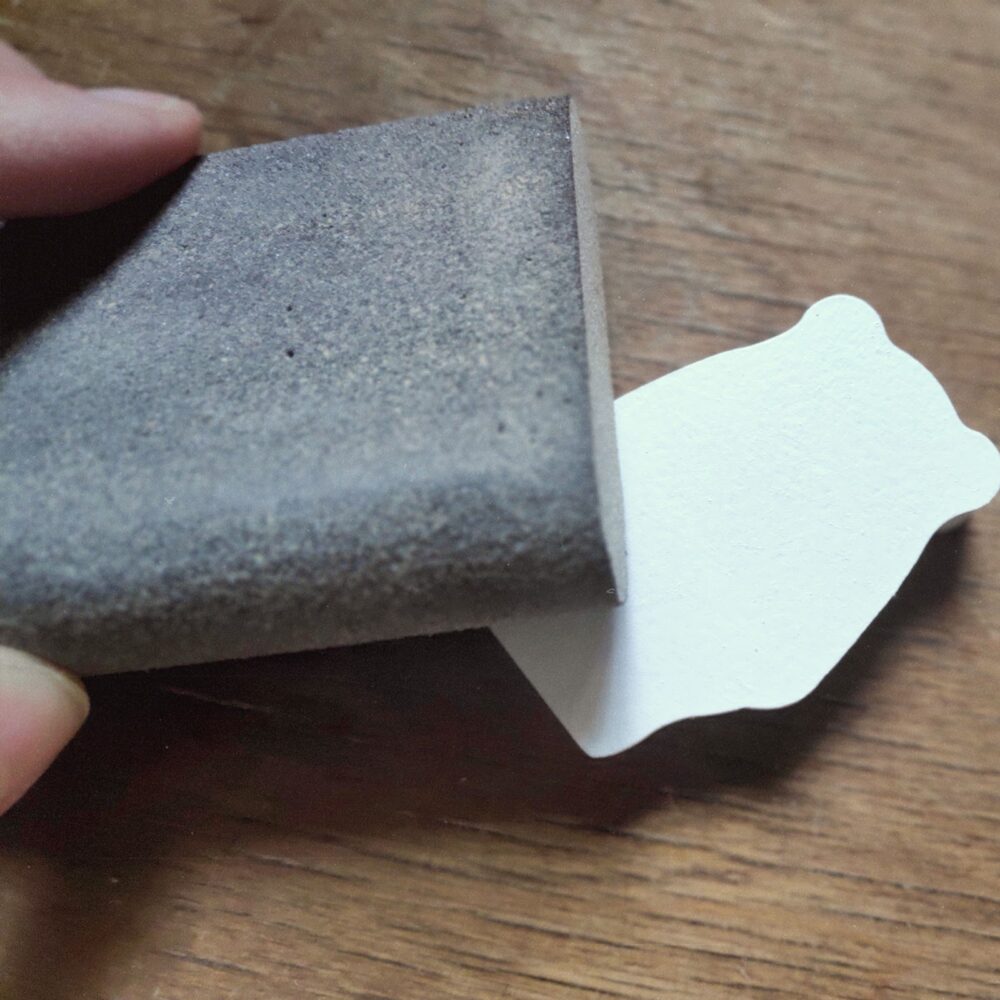
A curious, exuberant child will play with anything – from rocks found in the park to tablets and plastic toys. However, there […]


